How to Patch a Pair of Kid's Jeans
I became very frustrated when 3-4 pairs of my daughter’s jeans got holes in the knees at the same time. We purchased these jeans at the beginning of the school year. The holes were the only thing wrong with the jeans – they still fit her fine. I know that, one day, she will probably seek out holey jeans. But for now, I don’t want my six-year-old sporting that look. So I decided to try to fix those holes!
I was thinking about patching the holes. I reminisced about the cute iron-ons from my childhood. Mom made a denim bag for me, and I remember we put little embroidered strawberry appliqués on it. THAT is what I had in mind.
First I stopped by the tiny little sewing area in Target. I found some old-school heavy-duty rectangle patches — something like you'd find in an episode of Welcome Back, Kotter.
While functional, I decided to keep looking. I know I wouldn’t have wanted to wear jeans with those patches, and I suspected my daughter wouldn’t care for it, either. I wanted her to be happy wearing them to school ... and not get picked on by other kids. (Well, not for the patches on her jeans, at least.)
So on a trip to JoAnn’s, I found these iron-on appliqués:
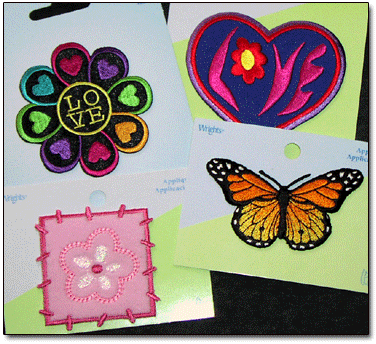
I don’t remember the individual prices, but the patches were 30% off. The four patches plus a hank of elastic came up to $8.94. So I’d say each appliqué came up to $2 or less.
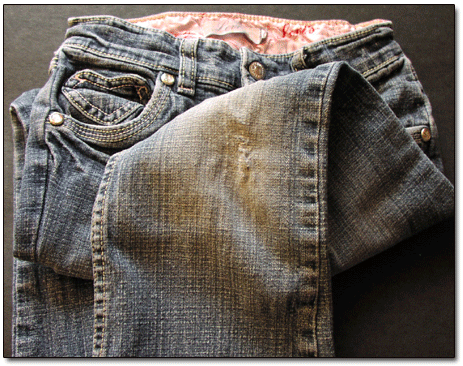
Appliques in hand, it was time to get to work. I decided to patch up this pair of freshly-washed and dried jeans. They’re Levi’s, and they have cute little heart pockets:
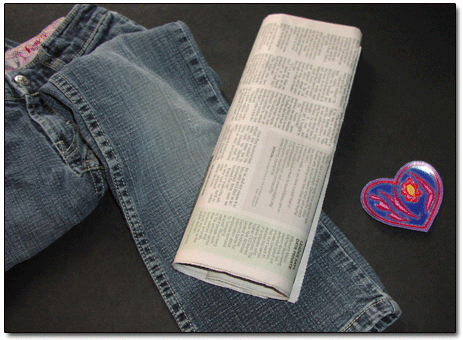
I scavenged a bit of newspaper from the recycle bin to fold up and place inside the leg, under the hole. This was in case the adhesive melted and seeped through — wouldn't want to glue the front of the leg to the back. That would be counter-productive.
I settled on the heart appliqué. It was large enough to cover the hole, and it continued the heart design of the pockets. [Michael notes: See? That'd be so outside my sphere of consciousness.]
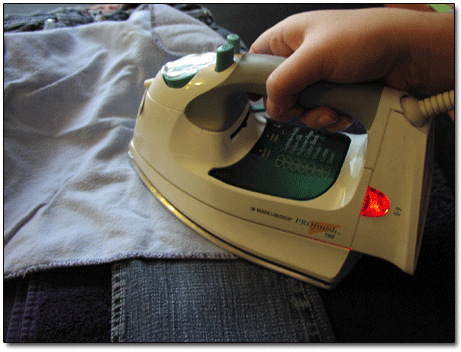
The instructions say to use dry heat with a press cloth between the iron and appliqué. I haven’t used a press cloth in years. Rather than searching through my old sewing supplies, I decided to make do with a flannel cloth I use for dusting.
Following the instructions, I pressed the front for 10-15 seconds. I checked and everything seemed fine. Just to be safe, I did it again. Then I flipped the leg over, and pressed the back for 20-25 seconds (per the instructions).
At this point, we could say it’s done. But the instructions continue: For permanent application, sew on. Iron to reattach.
So I decided to do a little overcast stitching. I selected a matching thread from Michael’s grandmother’s old stash of threads. OLD thread, but still good. It took extra time to stitch around the edges, yes, but it is a little added security.
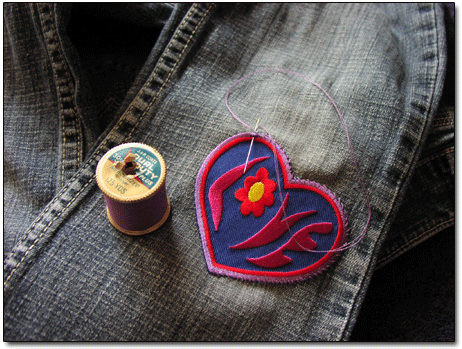
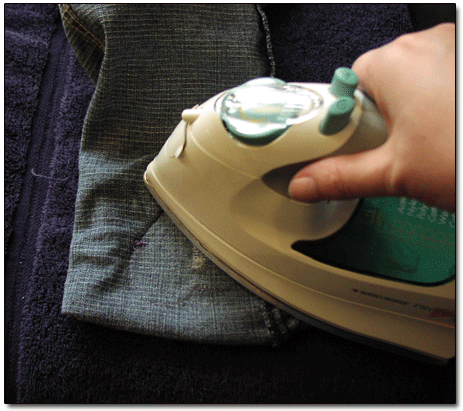
After I finished the stitching, I turned the leg inside out and gave it another good pressing from the inside.
I turned the leg right side out, and voila! For maybe $2 and a bit of time, my daughter can proudly wear these jeans to school for a while longer.

The other knee is looking like it’ll get a hole in it, too. We’ll see how long it takes. At that point, we might just make them into cut-off shorts. (I *loved* cut-offs when I was a little kid!)
Also, if we do the cut-offs thing, I might be able to use the legs to make a little outfit for her Webkinz pets. My mom said I should be sure to remove the appliqué before tossing the jeans. I guess I can re-use it. I’ve never done that before, so I’m not sure how it’ll work out. Maybe I’ll need to pick up some Wonder Under when the time comes. But that’s another tutorial . . ..
Labels: Tutorials
